 |
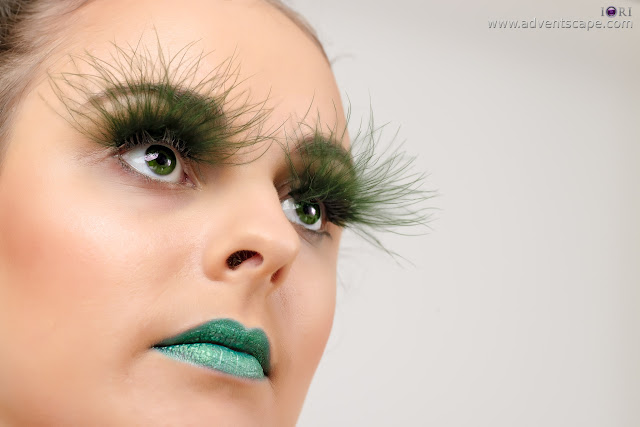
| Change Eye Colour |
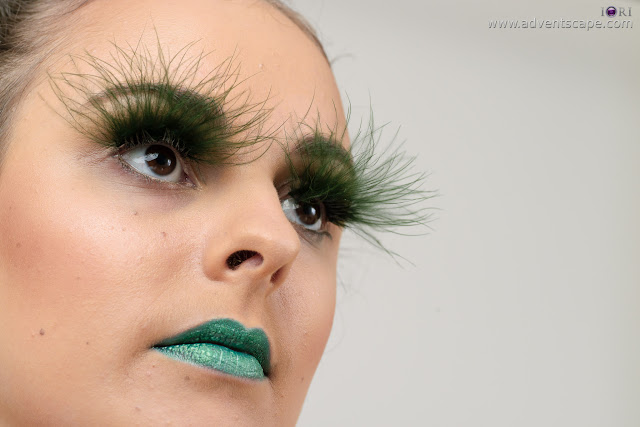 |
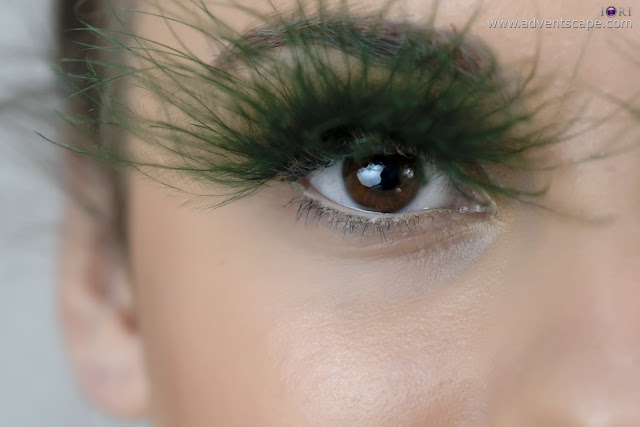
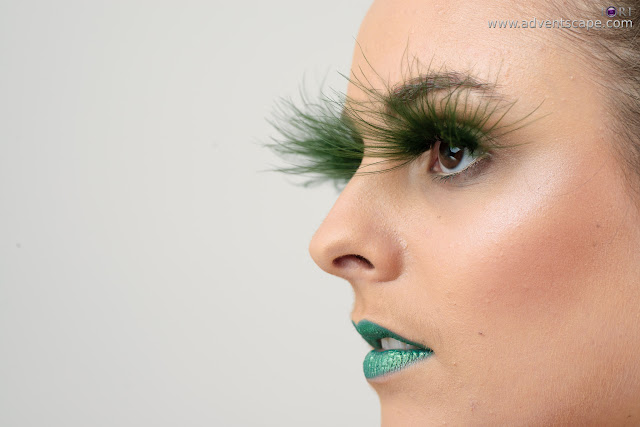
| Change Eye Colour (Original) |
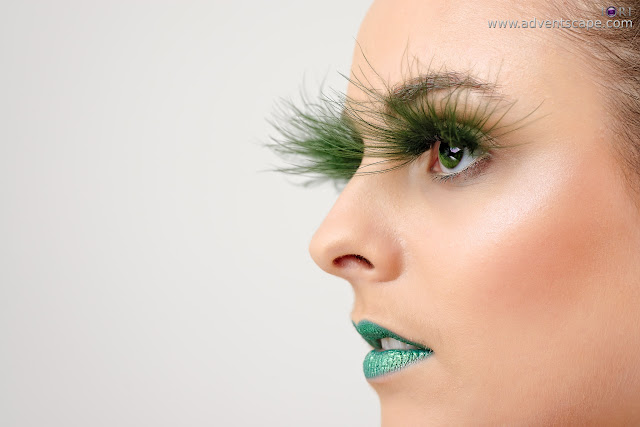
I did a creative beauty shoot 2 weeks ago and it involves changing the eye colour. I do admit, although we need to do as much on the set as possible, ‘changing eye colour’ would be easier doing it on post. This is photography, so it only involves still photos (not video!). There are many tutorials on the internet (and in Youtube where you can just sit down and watch), but some are not as effective and some are lengthy process.
I want to change eye colour in the shortest possible time with very effective results.
How to Change Eye Colour, The Layers
My steps are very simple, quick and effective. Just follow the steps below:
- Create a new layer - I always create a new layer when starting a new edit. Sometimes I rename this layer to point out where the edit starts.
- In the new layer, mask the eyes (‘Masked’ layer). As long as you’re only affecting the eyes, then it’s a good start. There are many ways of masking the eyes either by ellyptical tool, quick mask, pen tool, bucket tool etc. Just make sure that the selection is feathered a bit so the transition is softer.
- Create a new ‘Levels’ adjustment layer - this layer takes care of the overall contrast and brightness of the eyes. Make sure that it is a clipping mask for the Masked Layer.
- Create a new ‘Hue/Saturation’ adjustment layer. Make sure that it is a clipping mask for the newly created ‘Level’s adjustment layer.
- Go back to the Levels layer again and adjust the settings to achieve a more realistic colour contrast/brightness of the eyes.
If done correctly, below should be what the stacked layers should look like.
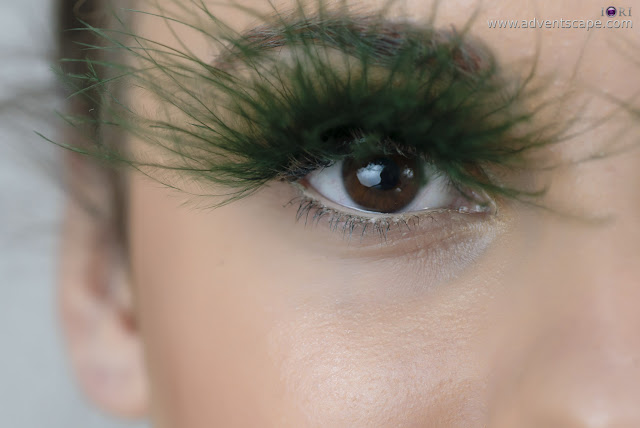 |
| 1. Create a New Layer |
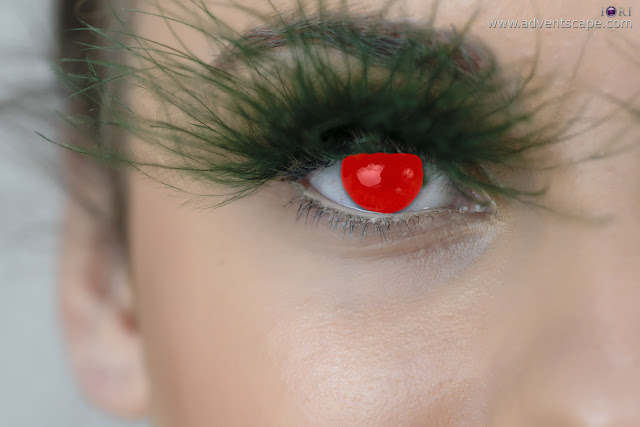 |
| 2. Mask the Eyes (Masked Layer) |
 |
| 3. Create a 'Levels' Adjustment Layer (Clipping Mask to Masked Layer) |
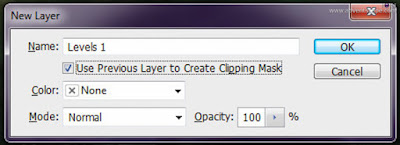 |
| 3.1 Levels Layer as Clipping Mask |
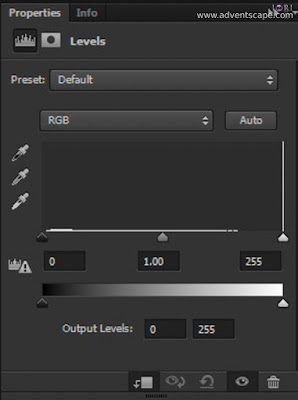 |
| 3.2 Levels Layer Unchanged |
 |
| 4. Create a 'Hue/Saturation' Adjustment Layer (Clipping Mask to Masked Layer) |
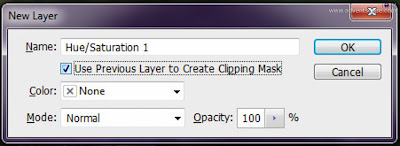 |
| 4.1 Hue / Saturation Layer as Clipping Mask |
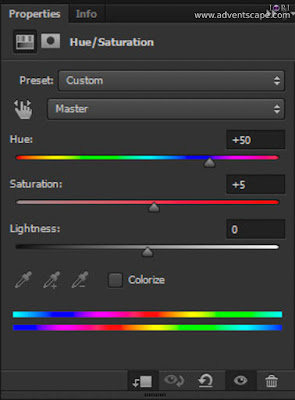 |
| 4.2 Hue / Saturation Settings (Eyes to Green Colour) |
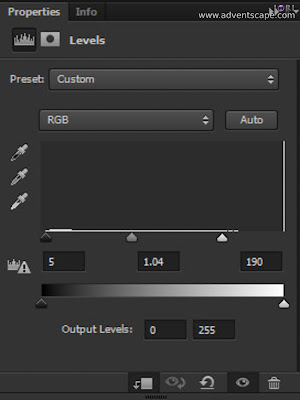 |
| 5 Level's Layer Changed after Hue Saturation Adjustment |
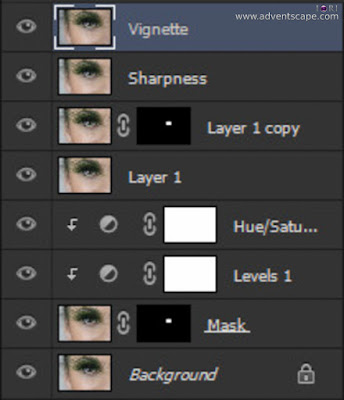 |
| Layers Palette |
How to Change Eye Colour, The Controls
This is how each layer works:
Zoom into the ‘Masked’ layer so you can fine tune your eye selection. In my example, some parts of the fake eyelids go over the eyes. So I masked it out so that it doesn’t change colours. You’d probably need to zoom very close so it’s easier to paint in or paint out.
The ‘Hue/Saturation’ layer controls the colour you want to change to. Move the Hue slider right or left to change the colour. Move the Saturation slider to get the vividness you want. Move the Brightness slider to easily change the shade of colour you want. It’s fairly easy when you already know what kind of colour you want to change into.
The ‘Levels’ layer controls how the ‘Hue/Saturation’ layer affects the eyes. If the new colour spills over the dark part of the image (e.g. iris), then drag the ‘Dark Point’ to the right accordingly. If the new colour spills over the highlights (e.g. catchlight), then drag the ‘White Point’ to the left. Drag the ‘Midpoint’ slider right or left to get the desired amount of colour spilling the eye.
 |
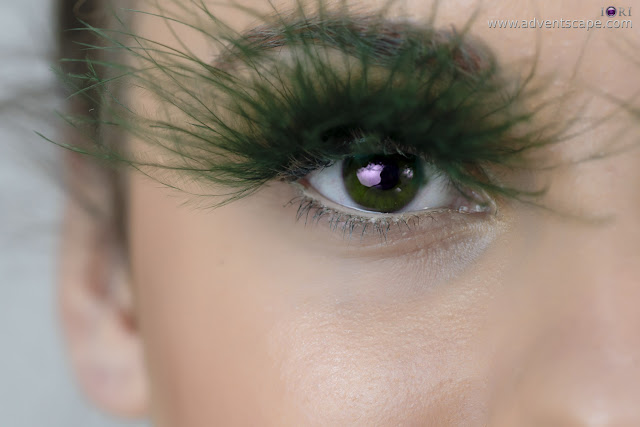
| Final Edits for Changing Eye Colour |
Final Thoughts
There are many ways in changing eye colour. You just need to pick a few and test them. Once you get the hang of it (or found a suitable technique), then you stick with it.
Be flexible in accommodating something in post. If we’d done this on shoot, we need to get green contact lenses which is hard to get (since no one will normally use it). Go into the internet and see examples of what others have done. Then find a tutorial that best suits your style.
Keep a file on the technique. You might use it again in the future.
 |
| Amanda's Changed Eye Colour |
 |
| Amanda's Changed Eye Colour |


